 Rusty Tools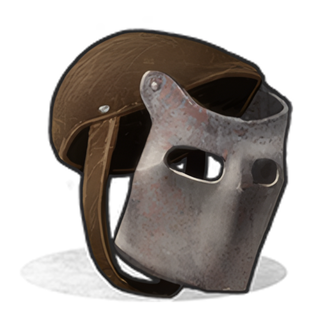
Armour is the loadout item people most often craft as a set and least often price as one. The in-game recipes are per piece, and each piece looks affordable on its own; it is the kit that costs 100 leather. I pulled every armour recipe out of the dataset behind the bind maker — 38 of them — and grouped them into the sets people actually wear, so the totals are visible before you queue them.
One pattern sits underneath the whole table and is worth stating up front: almost every good piece needs sewing kits, and sewing kits are the one component here that is workbench 3 to craft (20 cloth and 3 rope each). Most players never craft one; they loot them. So “can I make a road sign kit” is usually really “have I found six sewing kits”, and that is the question to answer first.
The sets
Wood set — no workbench
| Piece | Recipe | Time |
|---|---|---|
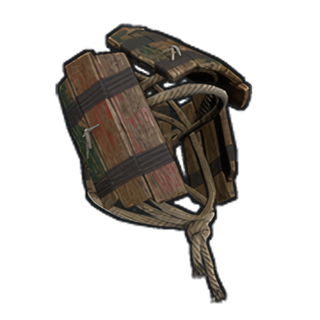 Wood Armor Helmet Wood Armor Helmet | 15 cloth, 150 wood | 20 s |
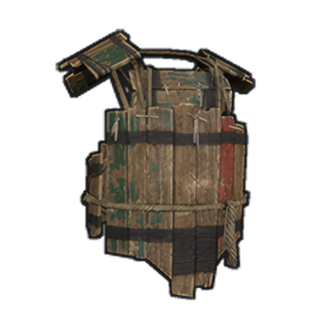 Wood Chestplate Wood Chestplate | 20 cloth, 250 wood | 30 s |
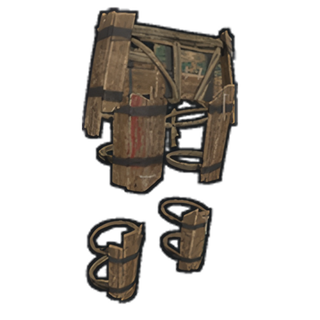 Wood Armor Pants Wood Armor Pants | 15 cloth, 150 wood | 20 s |
| Full set | 50 cloth, 550 wood | 70 s |
Fifty cloth and a tree. This is the set for the first hour, and it is the only full set in the game that needs no workbench and no sewing kits. It is also the set most people forget exists once they have a furnace, which is a mistake on a fresh spawn.
Bone armour — no workbench
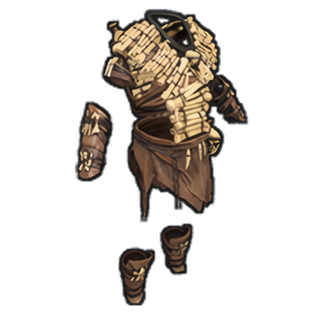 Bone Armor is a single piece for 15 cloth and 70 bone
fragments, 30 seconds, no bench. It covers the torso slot and costs you nothing but the
animals you were going to kill anyway. Pair it with the wood helmet and pants.
Bone Armor is a single piece for 15 cloth and 70 bone
fragments, 30 seconds, no bench. It covers the torso slot and costs you nothing but the
animals you were going to kill anyway. Pair it with the wood helmet and pants.
Cloth basics — workbench 1 and 2
| Piece | Recipe | WB |
|---|---|---|
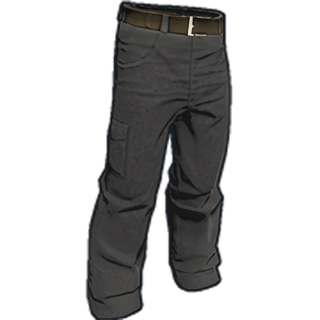 Pants Pants | 40 cloth, 1 sewing kit | 1 |
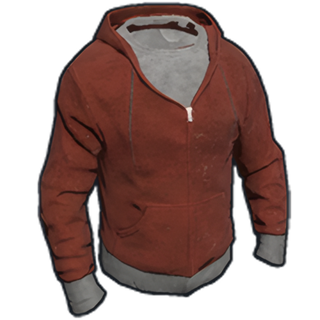 Hoodie Hoodie | 40 cloth, 1 sewing kit | 2 |
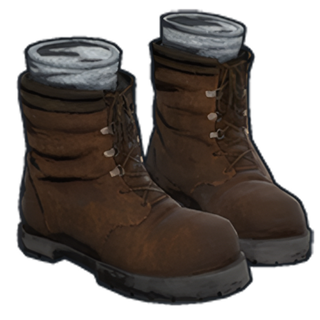 Boots Boots | 15 metal fragments, 1 sewing kit, 20 leather | 2 |
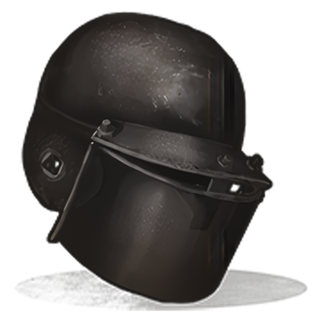 Riot Helmet Riot Helmet | 10 cloth, 50 metal fragments | 1 |
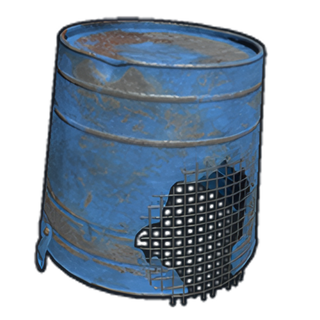 Bucket Helmet Bucket Helmet | 35 metal fragments | 1 |
Hoodie and pants are the base layer under everything else, and between them they want two sewing kits and 80 cloth. The bucket helmet at 35 fragments and no sewing kit is the cheapest head protection with a workbench, and the riot helmet is the step up for another 15 fragments and some cloth.
Road sign kit — workbench 2
| Piece | Recipe | Time |
|---|---|---|
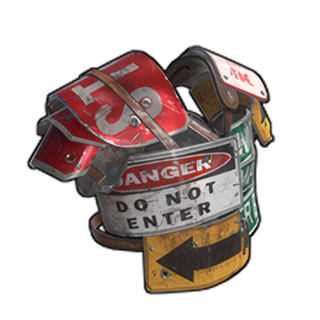 Road Sign Jacket Road Sign Jacket | 2 road signs, 2 sewing kits, 20 leather | 30 s |
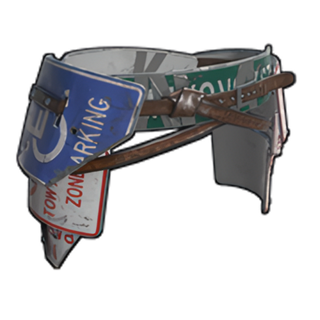 Road Sign Kilt Road Sign Kilt | 1 road sign, 2 sewing kits, 10 leather | 30 s |
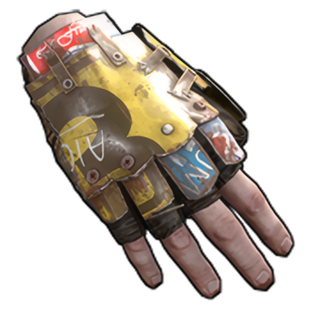 Road Sign Gloves Road Sign Gloves | 1 road sign, 2 sewing kits, 20 leather | 30 s |
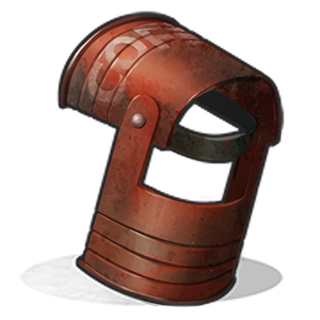 Coffee Can Helmet Coffee Can Helmet | 15 cloth, 60 metal fragments, 1 sewing kit | 30 s |
| Jacket + kilt + gloves + coffee can | 4 road signs, 7 sewing kits, 50 leather, 60 frags, 15 cloth | 2 min |
This is the mid-wipe standard and the set most people think of as “a kit”. Seven sewing kits for the four pieces — nine with a hoodie and pants underneath — is the number to remember. The road signs themselves are the easy part; you recycle them out of the things you were going to recycle anyway.
Heavy plate — workbench 2
| Piece | Recipe | Time |
|---|---|---|
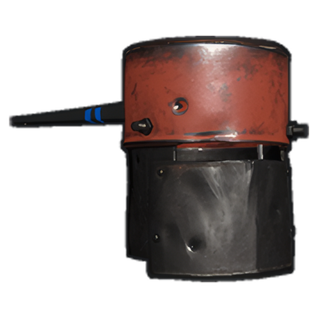 Heavy Plate Helmet Heavy Plate Helmet | 1 sheet metal, 4 HQM | 45 s |
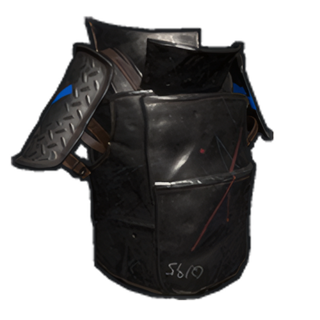 Heavy Plate Jacket Heavy Plate Jacket | 2 sheet metal, 4 HQM | 45 s |
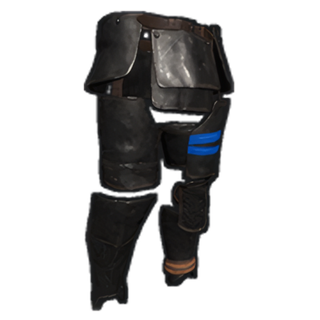 Heavy Plate Pants Heavy Plate Pants | 1 sheet metal, 4 HQM | 45 s |
| Full set | 4 sheet metal, 12 HQM | 2 min 15 s |
Notice what is not in that recipe: no sewing kits, no leather, no cloth. Heavy plate is the only high-tier set that a player with HQM and no loot luck can craft outright, which is a large part of why it turns up on players who have been farming rather than fighting. The trade is the movement penalty, which is not a crafting matter.
Metal pieces — workbench 3
| Piece | Recipe | Time |
|---|---|---|
| Metal Facemask | 15 HQM, 6 sewing kits, 50 leather | 45 s |
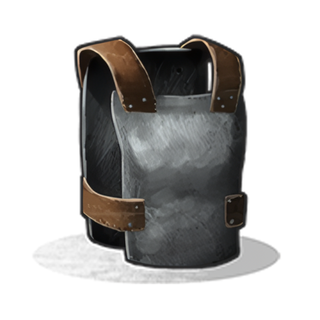 Metal Chest Plate Metal Chest Plate | 18 HQM, 8 sewing kits, 50 leather | 45 s |
| Both | 33 HQM, 14 sewing kits, 100 leather | 90 s |
Fourteen sewing kits between two pieces. That is the whole story of late-wipe armour: the HQM is a farming problem with a known solution, and the sewing kits are a looting problem without one. A full late kit — facemask, chest plate, road sign kilt and gloves, boots, hoodie, pants — comes to 33 HQM, 22 sewing kits, 160 leather and about 100 cloth.
Hazmat — workbench 2
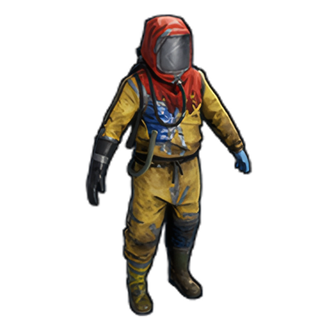 The Hazmat Suit is 8 HQM, 2 sewing kits and 5 tarp, and it
fills every clothing slot at once. Twenty seconds to craft. It is not a fighting set, but as
a single item that solves radiation and cold together it is the best value on this page per
slot covered.
The Hazmat Suit is 8 HQM, 2 sewing kits and 5 tarp, and it
fills every clothing slot at once. Twenty seconds to craft. It is not a fighting set, but as
a single item that solves radiation and cold together it is the best value on this page per
slot covered.
The whole thing in one table
| Set | WB | Sewing kits | Leather | HQM | Everything else |
|---|---|---|---|---|---|
| Wood (3 pieces) | 0 | 0 | 0 | 0 | 50 cloth, 550 wood |
| Bone Armor | 0 | 0 | 0 | 0 | 15 cloth, 70 bone fragments |
| Hoodie + pants | 2 | 2 | 0 | 0 | 80 cloth |
| Road sign kit (4) | 2 | 7 | 50 | 0 | 4 road signs, 60 frags, 15 cloth |
| Heavy plate (3) | 2 | 0 | 0 | 12 | 4 sheet metal |
| Metal facemask + chest | 3 | 14 | 100 | 33 | — |
| Hazmat Suit | 2 | 2 | 0 | 8 | 5 tarp |
Queueing a kit with one key
Armour is the ideal thing to put on a bind because every piece is a single craft — no yield arithmetic — and the pieces are always the same. The loadout guide has the road sign kit as a ready line, and the bind maker will build the late-wipe version. The bind will not tell you that you are one sewing kit short; it just quietly skips the piece, which is why the totals above are worth checking against the box before you press it.
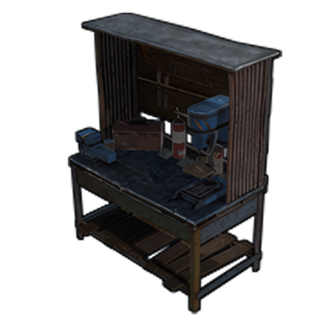 What each workbench unlocks
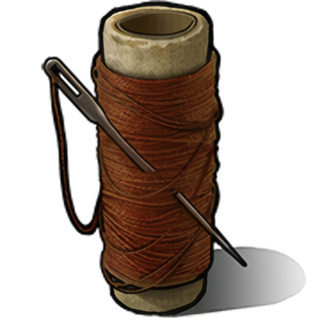 Sewing Kit